Old skylights leaking at the flashing
We remove the old unit, rebuild the curb, and set new step flashing to manufacturer spec. Sealing over failed flashing is a patch, not a fix.
Skylight installation in Washington is flashing work first and glass second. A skylight is a hole in the roof, and in our rain it has to be flashed to last. We install fixed and venting skylights across Washington, with step flashing, ice and water shield, and a curb built for the pitch of your roof. Schedule a consultation for a written estimate based on your home.
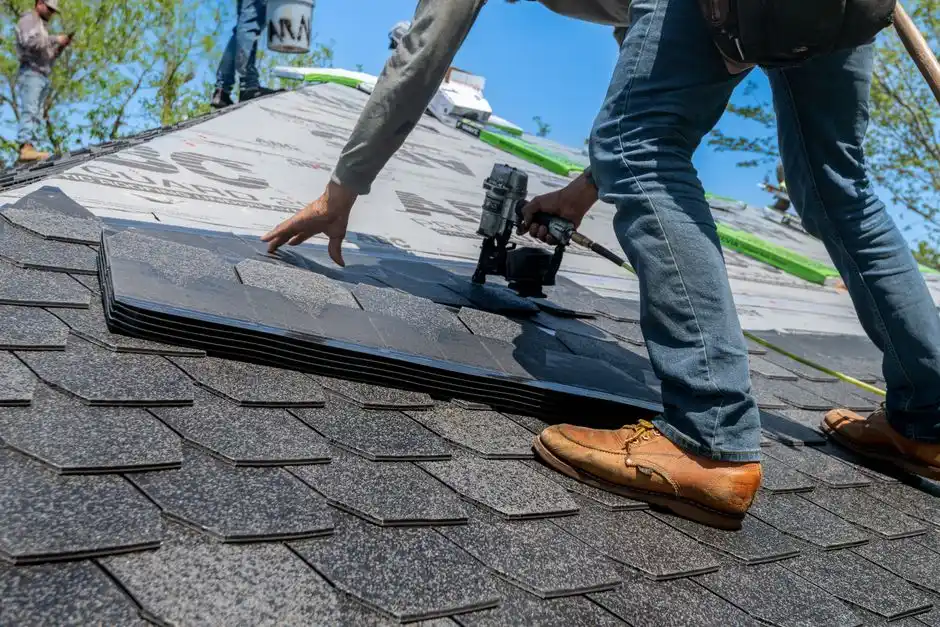
Skylight installation in Washington is the full job: we assess the roof and the room below, cut and frame the opening, set the curb and unit, flash and seal every layer, and finish the interior trim. A real install is measured twice and flashed in layers, so water has to climb uphill to get in. On a typical home, an install runs one day.
Washington rain finds bad flashing faster than anywhere else: 35 to 60 inches a year on the west side, wind-driven rain that works under step flashing, and freeze-thaw cycles that open sealant joints. That is why skylight installation Washington homeowners schedule with a roofer, not a window company, holds up. If you have been searching skylight installation near me in Washington and putting it off, the dark hallway is the reason to stop waiting.
Every install covers the checklist below. If we find something outside it, like a rafter that needs reframing or a roof section that needs replacing, we price it on the spot and you decide. No surprise line items after the fact.
We install fixed skylights that bring daylight into dark hallways, bathrooms, and kitchens. Fixed units have no moving parts, so there is nothing to wear out and nothing to leak at a hinge.
We install venting skylights that open for fresh air and moisture control in kitchens and bathrooms. Venting units are flashed the same way as fixed units, with the same layered seal.
We replace old, leaking, or yellowed skylights without re-roofing, reusing the opening where it is sound and rebuilding the curb and flashing where it is not.
We build the curb to the pitch of your roof, layer ice and water shield, and set step flashing to manufacturer spec. Flashing is the job — the glass is the easy part.
We finish the interior with trim and drywall work so the light well looks like it was always there. You get a clean opening, not a rough hole with a window in it.
We look at the roof pitch and material, the rafters below, and the room that needs light. You get a clear picture of the options before any cutting starts.
We cut the opening, frame it with headers, and confirm the rafters carry the load. The roof is tarped while the opening is exposed, so rain never gets in.
We build the curb to the pitch of the roof and set the unit level and square. The unit is secured to the curb, not to the shingles, so it cannot shift.
We layer ice and water shield, set step flashing, and seal every joint to manufacturer spec. Every layer is photographed before the next one goes on.
We finish the interior trim, then test the install with water from the hose. Before we leave, we walk you through the venting controls and what to watch.
Purpose-built equipment, used by trained technicians — so the job is done accurately the first time.
Cuts the roof opening and rafters cleanly so the framing stays square and the curb sits level.
Layers the flashing around the curb so water sheds over each piece instead of under it.
Seals the flashing joints with a sealant rated for our wet climate and freeze-thaw cycles.
Keeps the unit level and square on the curb so the glass seals evenly on every side.
Keeps crews anchored and ladders stable on steep pitches and wet mornings.
Cuts underlayment and sets nails on the flashing details around the curb.
A Seattle home had a hallway with no windows and no natural light. The owner had lived with it for years and assumed a skylight meant a leak.
We installed a fixed skylight over the hallway, flashed in layers, and finished the light well. The hallway went from dark to daylight, and the roof stayed dry through the next rain.
A Bellevue home had an old skylight leaking at the flashing, with a stain on the ceiling below. The owner had sealed it twice and the stain kept coming back.
We removed the old unit, rebuilt the curb, and set new step flashing to manufacturer spec. The stain stopped spreading and the ceiling dried out.
A Kirkland bathroom had condensation on the mirror and no ventilation. The owner wanted light and air without a fan running all day.
We installed a venting skylight over the bathroom, flashed in layers, and finished the trim. The room gets daylight and fresh air, and the condensation is gone.
Most of the skylight leaks we see started as a flashing shortcut. These are the problems our installs are built to prevent.
Ask a pro →We remove the old unit, rebuild the curb, and set new step flashing to manufacturer spec. Sealing over failed flashing is a patch, not a fix.
We replace single-pane units with modern double-pane glass and venting options, so the room stays dry and the glass stays clear.
We place fixed skylights where the roof and the room line up, so the light lands where you actually live. A hallway skylight changes the whole floor.
We replace cracked and yellowed domes with flat glass units that hold their clarity. The new unit is flashed fresh, so the curb is sound too.
Priced by scope — schedule a consultation for a written estimate.
Residential skylight installation pricing depends on the size and type of unit, the roof pitch and material, and whether the opening is new or a replacement. You get a written estimate before we cut, and any framing work found during the job is quoted on the spot.
A skylight install costs a fraction of a roof repair. Getting the flashing right the first time saves the ceiling, the drywall, and the warranty claim.
Larger units and venting models cost more than small fixed ones. The unit is the biggest driver of the install price.
A steep pitch takes longer to work on and secure than a low slope. Metal and tile roofs need different flashing kits than asphalt shingle.
A replacement reuses the opening where it is sound. A new opening needs framing and interior finish, which adds to the job.
Trim and drywall finish vary with the room. A simple light well costs less than a finished shaft through two floors.
A standard install includes assessing the roof and room, cutting and framing the opening, setting the curb and unit, flashing and sealing in layers, and finishing the interior trim. We test with water before we leave. Most single-family installs take one day.
Not when it is flashed right. We layer ice and water shield and step flashing to manufacturer spec, and we test with water before we leave. The leaks we fix are almost always from flashing shortcuts on old installs.
Yes. We remove the old unit, rebuild the curb and flashing where needed, and set the new unit in the existing opening. A full re-roof is only needed when the roof itself is at the end of its life.
Residential skylight installation pricing depends on the size and type of unit, the roof pitch and material, and whether the opening is new or a replacement. You get a written estimate before we cut, and any framing work is quoted on the spot.
Our skylight crews cover Washington from the Puget Sound lowlands to the coast and the dry side. Whether you need a residential skylight installation Washington visit or a commercial program, we schedule by region and by season so your home gets attention when it needs it. Here are some of the cities we serve.
Roof InstallationWhen a roof is beyond repair, we install new asphalt shingle, metal, or TPO systems to manufacturer spec, with skylights flashed into the new roof.Explore →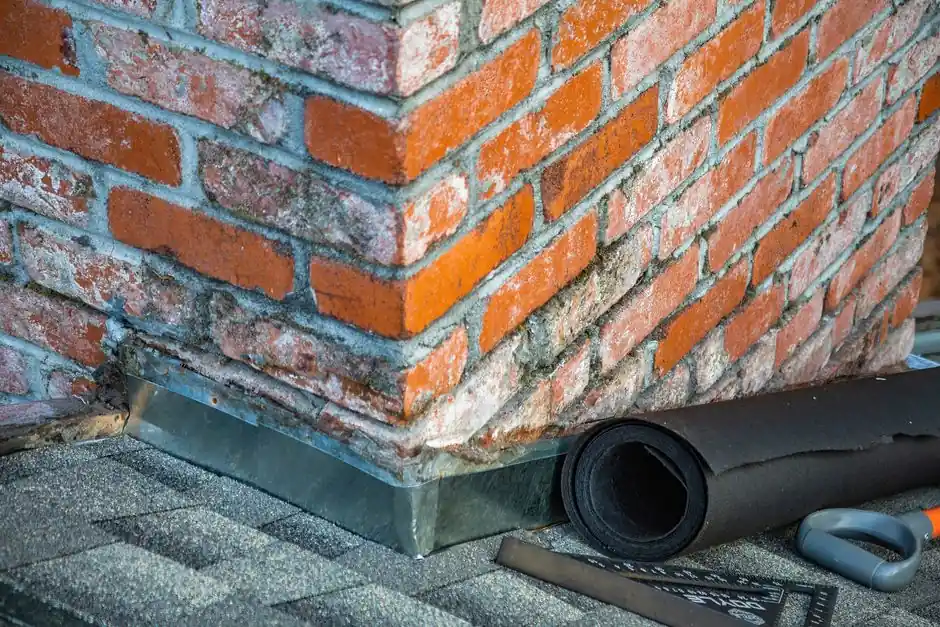 Roof RepairTargeted repairs for leaks, missing shingles, and flashing failure. Most skylight leaks are flashing failures, and we fix them at the source.Explore →
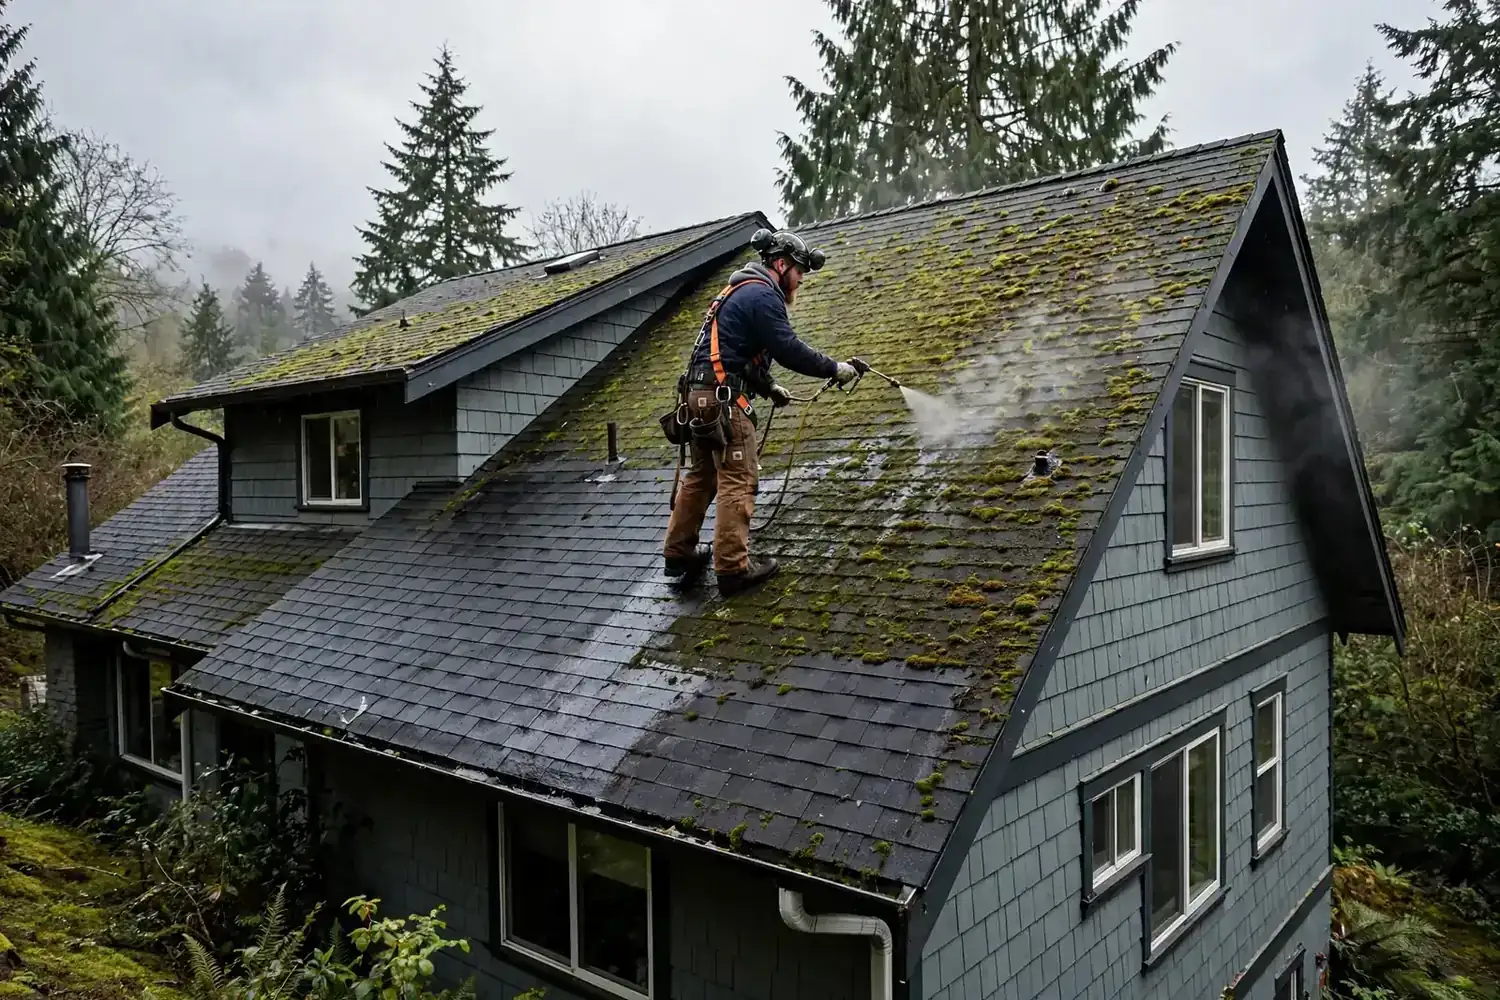 Roof CleaningSkylight flashing is one of the first places moss and debris cause leaks. A cleaning visit is the right time to check the flashing around every skylight.Explore →
 Roof InspectionA deeper diagnostic than a skylight visit, including attic and moisture checks. We recommend an inspection when a skylight leak points to a bigger roof problem.Explore →
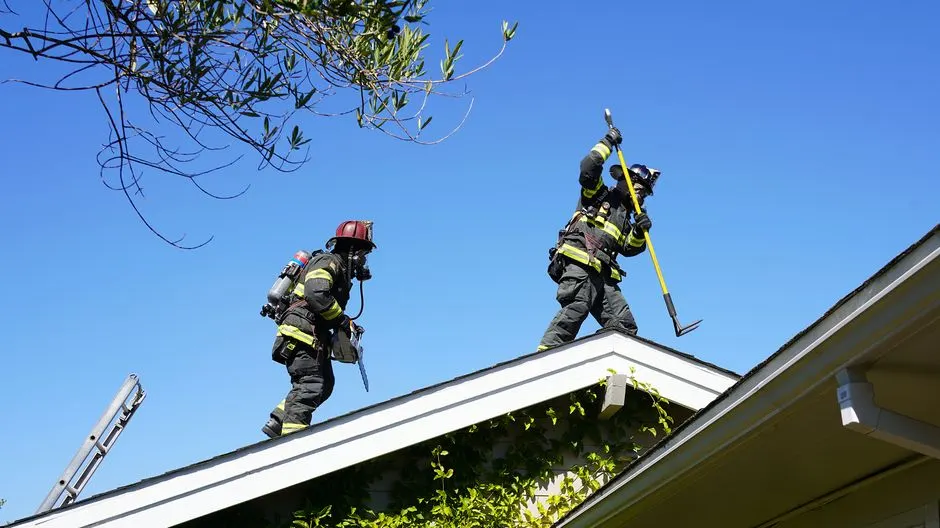 Residential RoofingOur residential skylight installation Washington service is built for single-family homes, from Seattle bungalows to Bellevue two-stories.Explore →
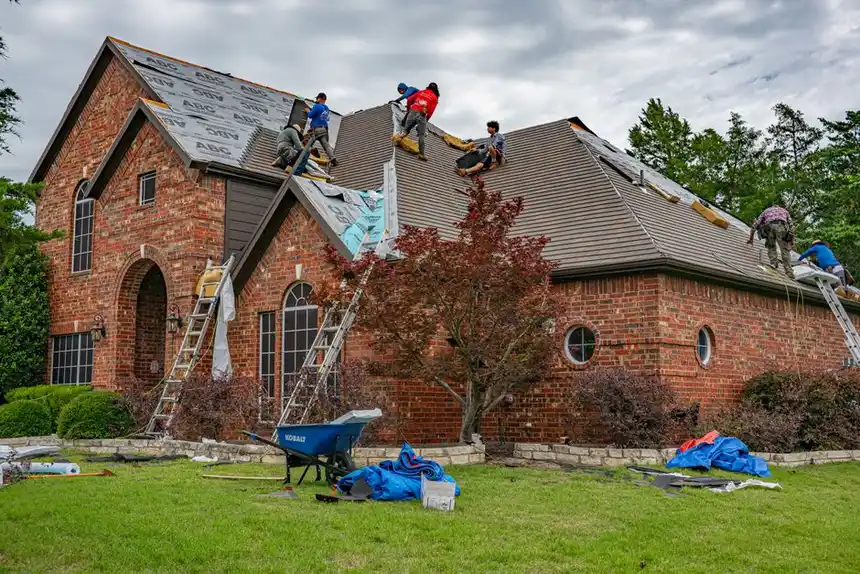 Roof ReplacementFull tear-off and replacement for roofs that have reached the end of their service life. New skylights are flashed into the new roof on the same job.Explore →
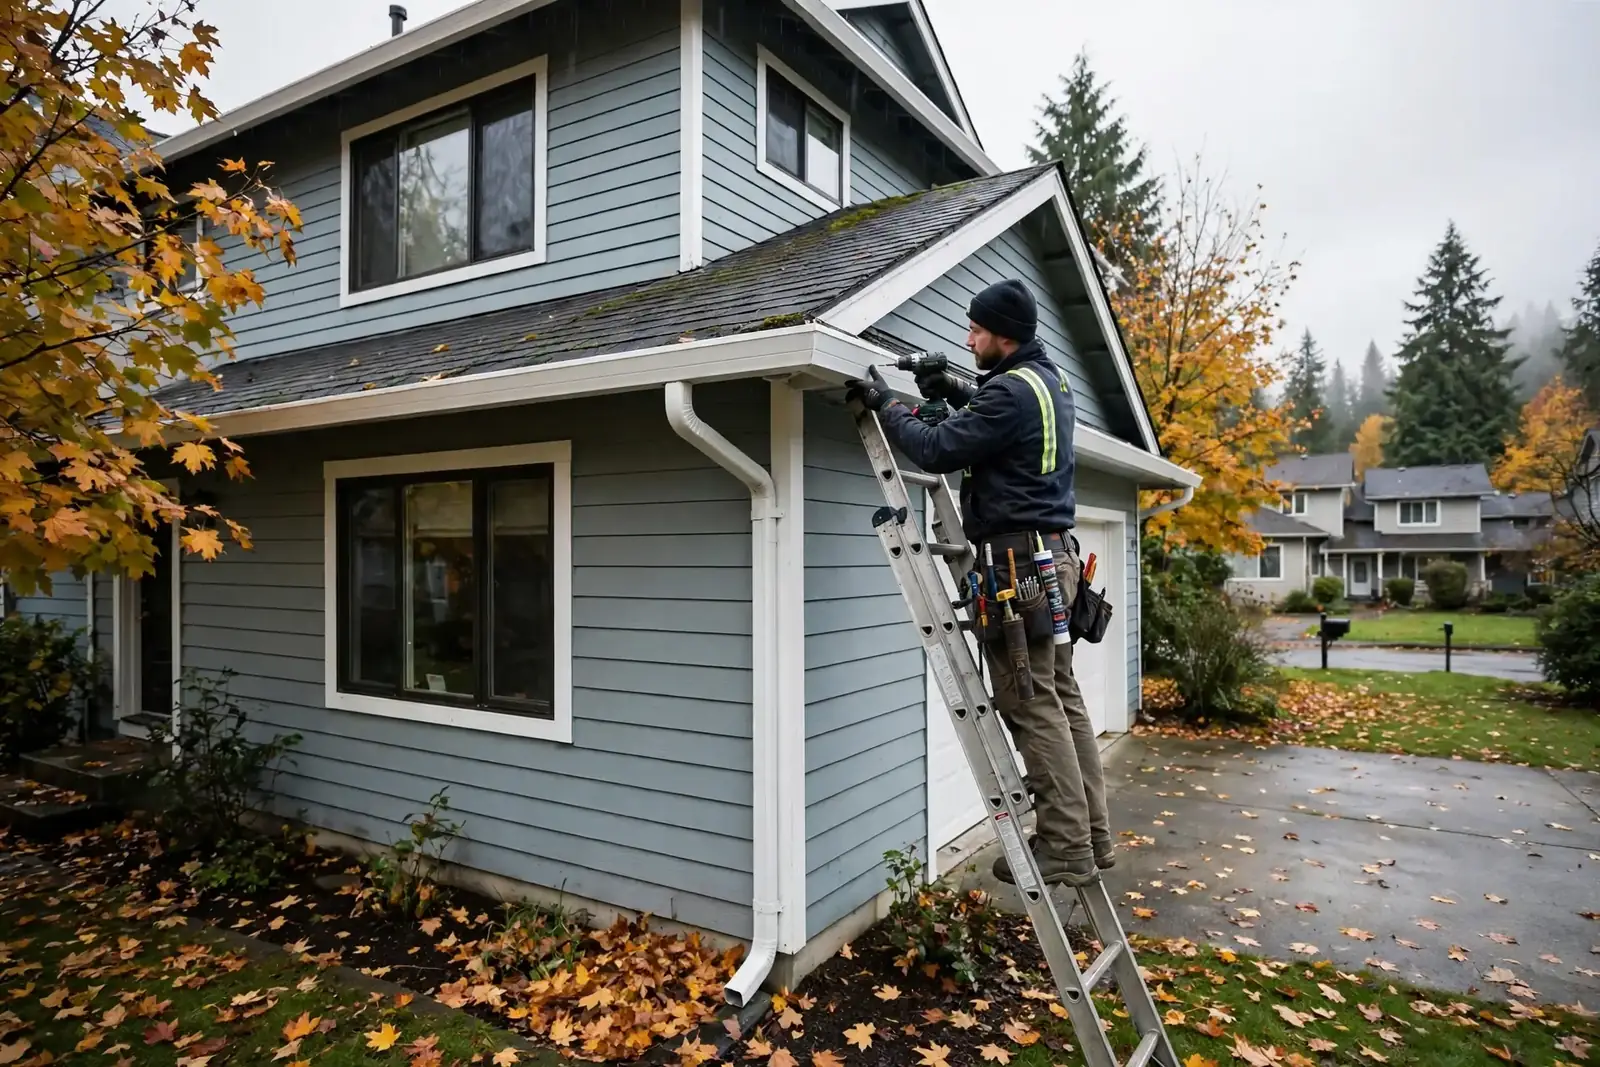 Gutter InstallationSkylight flashing and gutters meet at the eaves. When we install a skylight, we check the gutter run below it for overflow and pitch.Explore →
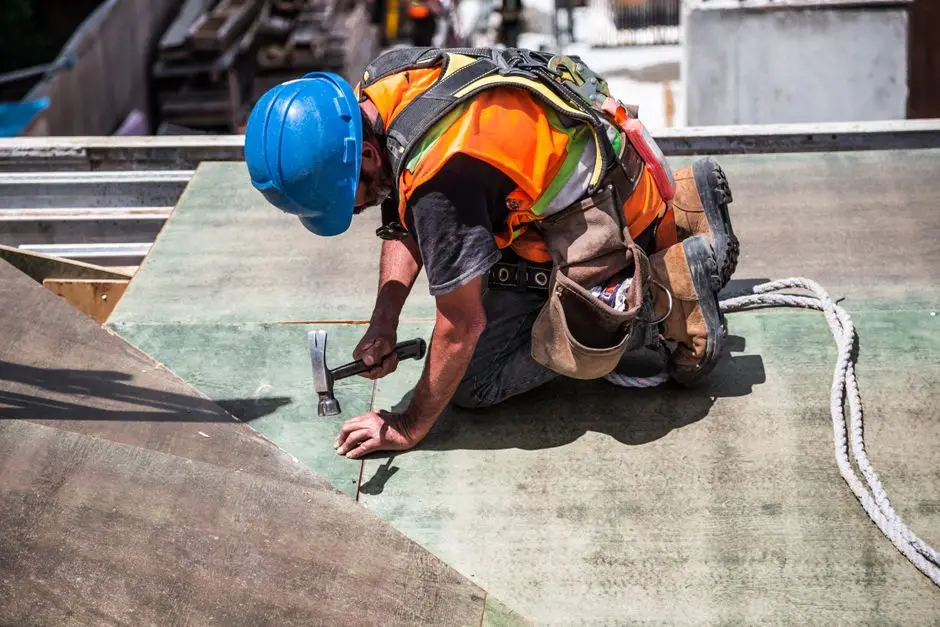 Commercial RoofingFlat and low-slope commercial roofs need drain clearing, seam checks, and membrane care — and skylights on commercial roofs get the same layered flashing.Explore →
A skylight changes the room it lands in. We give you a clear price before we cut, and we test every install with water before we leave. Call our team and get daylight into the dark corner of your home.
Schedule Skylights +18325202787 →Call us to schedule a consultation. Our phone line is answered during business hours for leaks, storm damage and emergency tarp-overs, and regular estimates get scheduled within one business day. Tell us your address and which room needs light, and we will get a crew out to take a look.